

Biochar
How to make an ancient soil transformer.


Our poor, eroded Vermont soil needs to be totally transformed if we are to make the luscious gardens we dream of. To do this, we are going to rely heavily on biochar, which is basically charcoal supercharged by nutrients and beneficial microbes.
Charcoal has 3 properties that make it extremely useful for the gardener:
One ounce of charcoal, due to its extreme porosity, has the surface area of a football field. This entire surface area can be colonized by beneficial microbes and can hold ionic nutrients.
Charcoal is an incredibly stable form of carbon. Other forms of organic carbon that one can add to the soil, say compost, have a half-life of 5-10 years, after which they volatilize into CO2. The carbon in charcoal, by contrast, has a half-life of hundreds or thousands of years, staying in the soil essentially indefinitely from a human standpoint. This also means the carbon is permanently sequestered in the earth, and stays out of the atmosphere.
Charcoal has a high water-retention capacity--it can hold about 2-4 times its weight in water.
Finally, because we live in the woods, we have an unlimited supply of waste wood available to make charcoal, so the raw materials are free and readily at hand.
Production
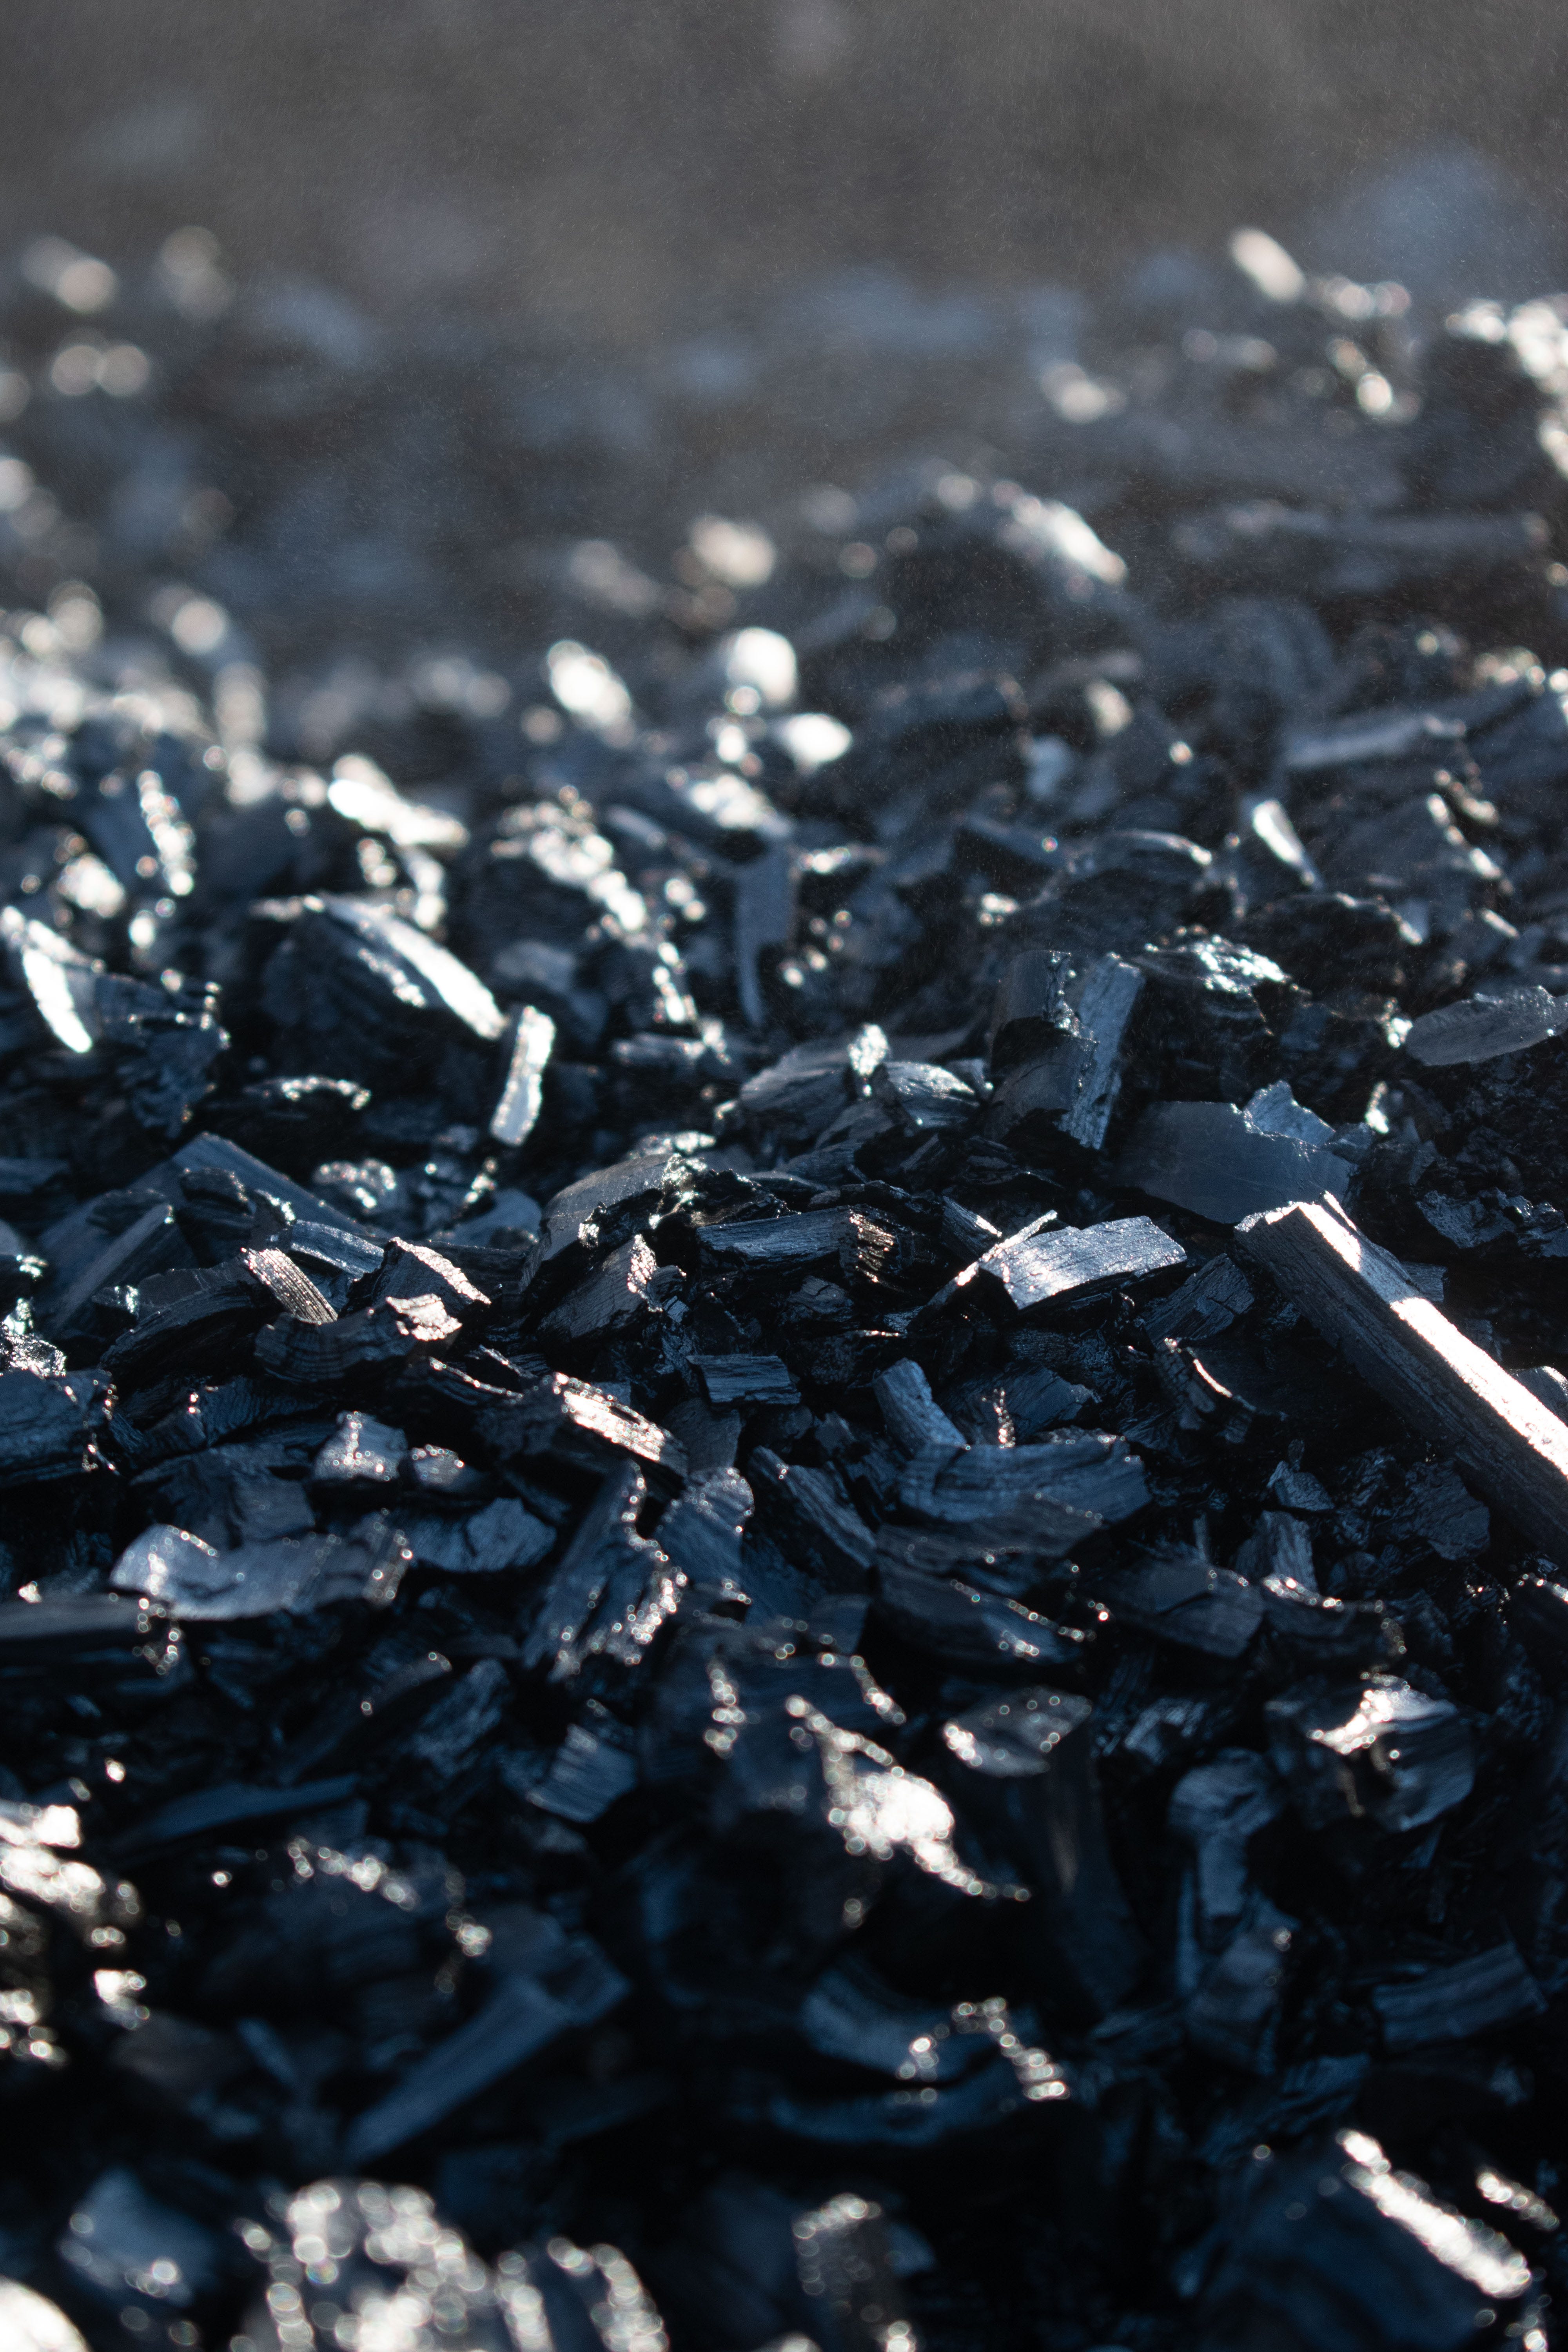
Making biochar consists of two phases: 1. making charcoal, and 2. inoculating the charcoal with microbes and nutrients.
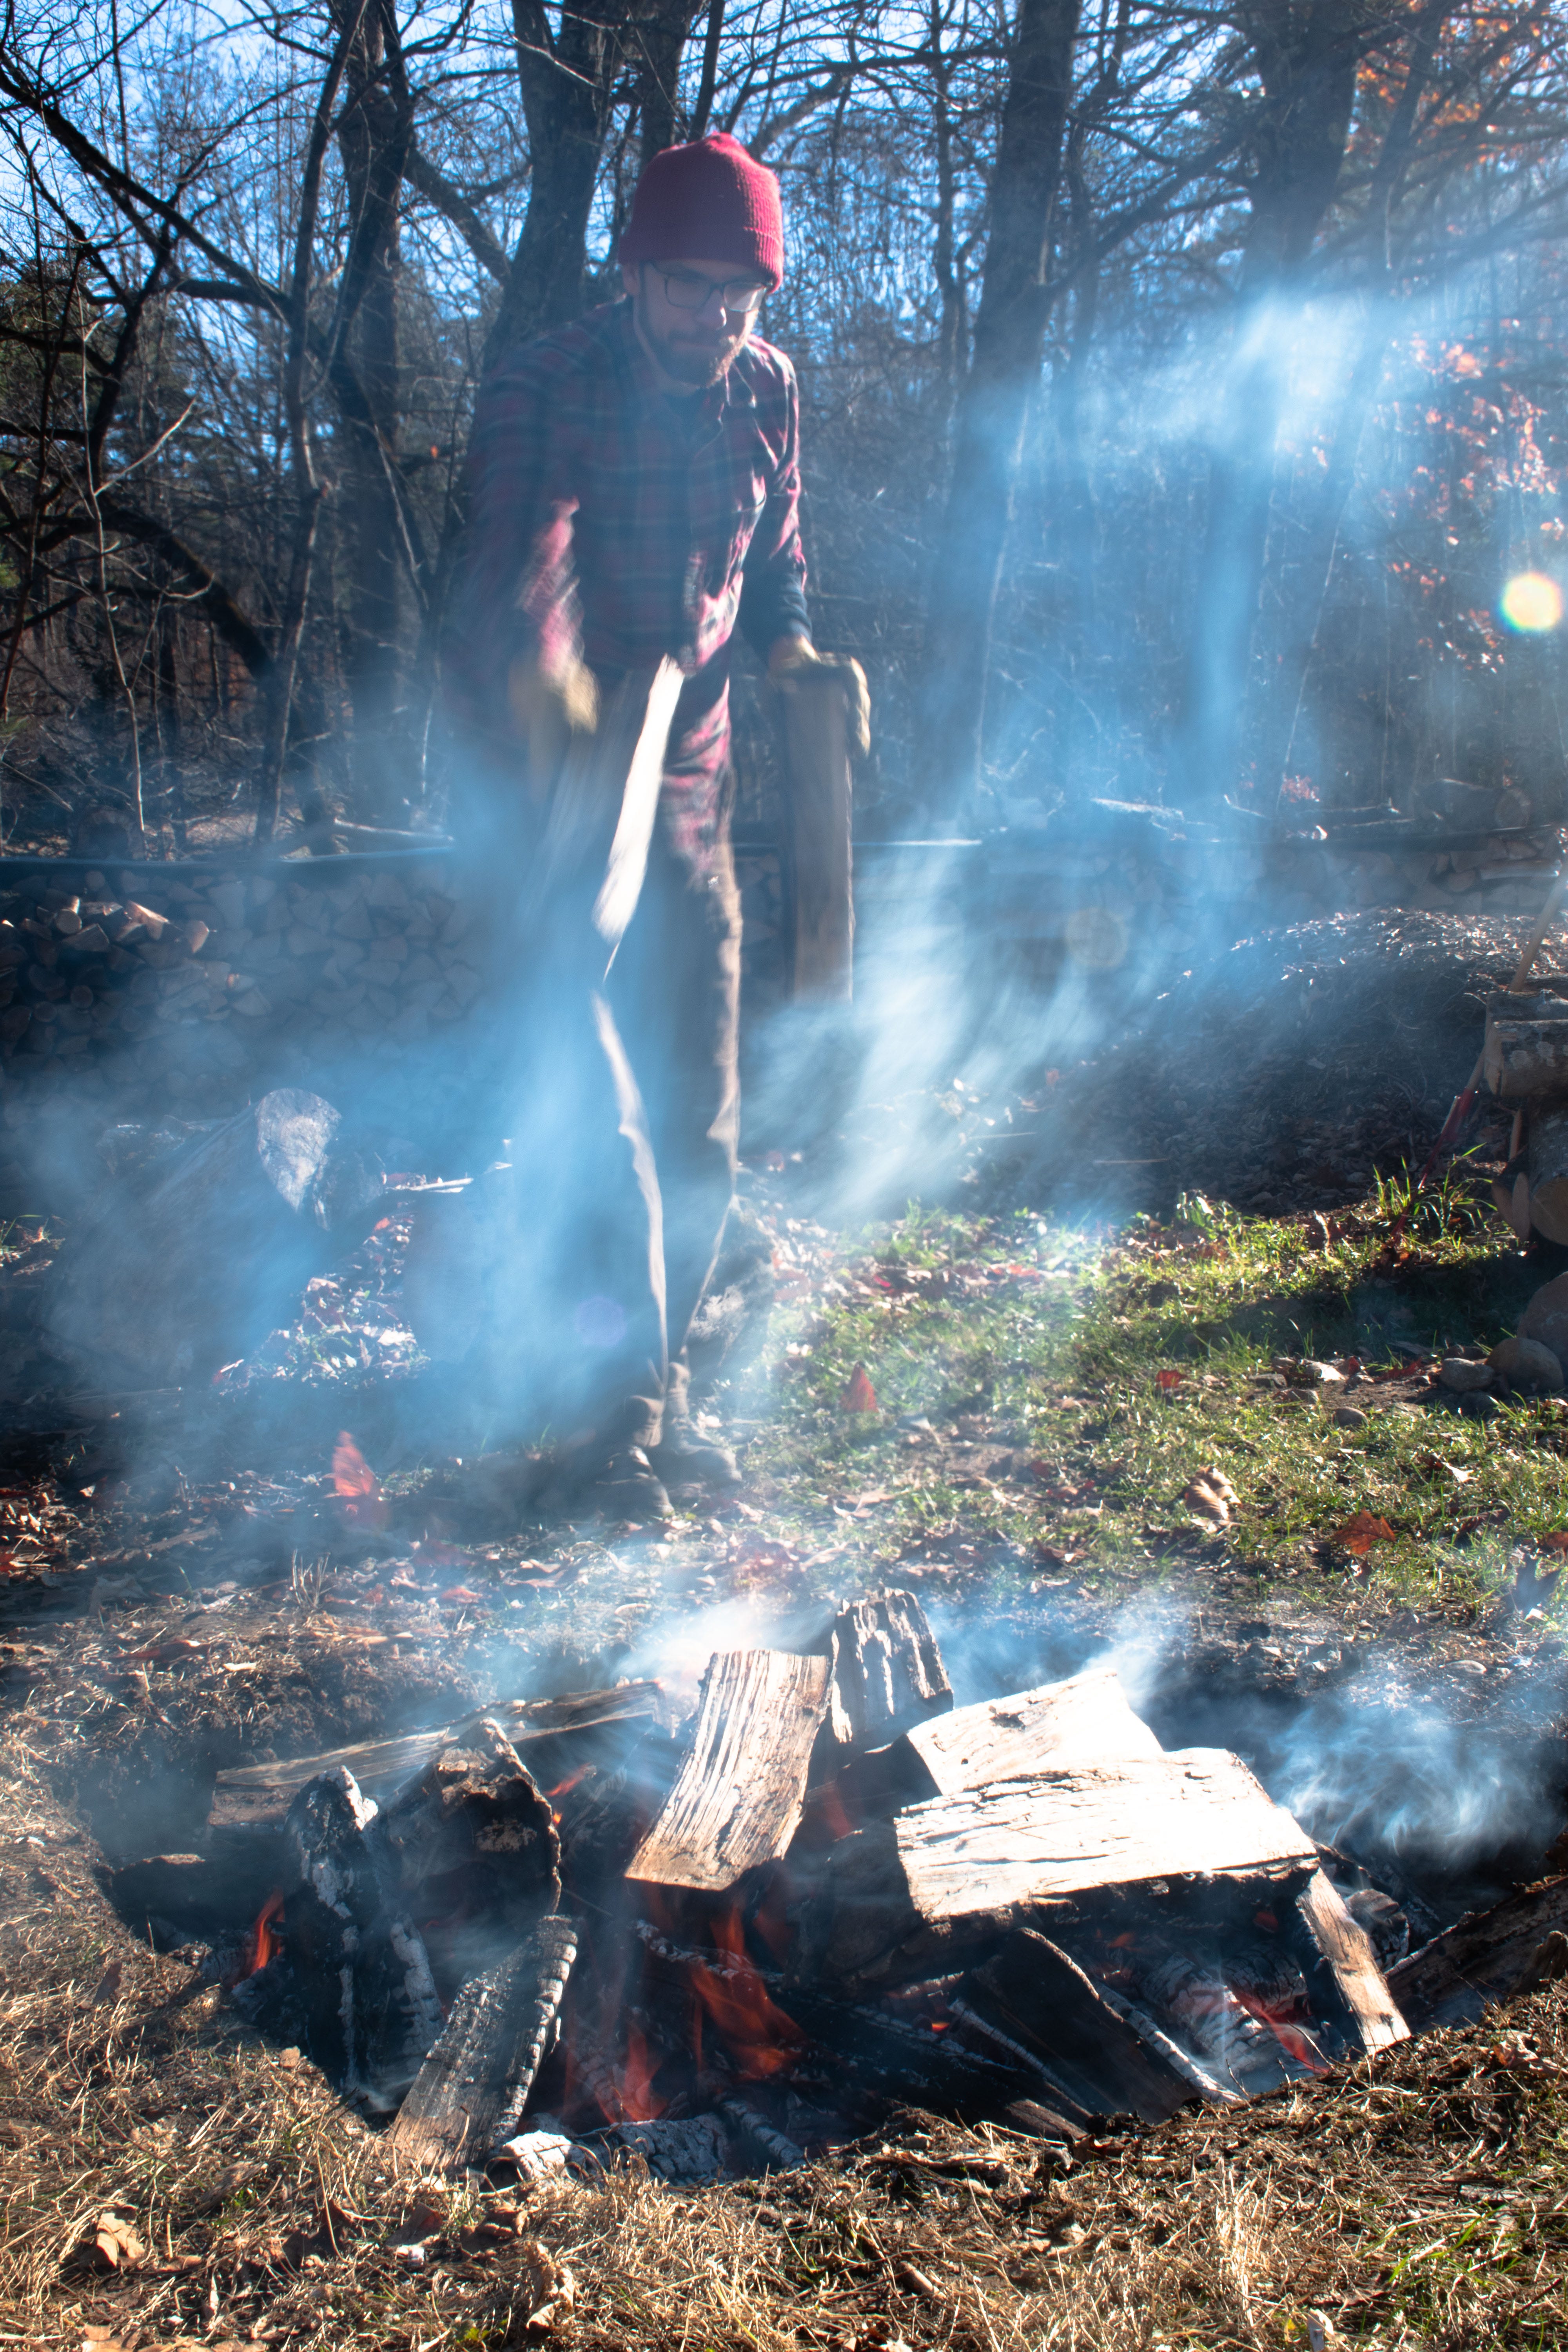
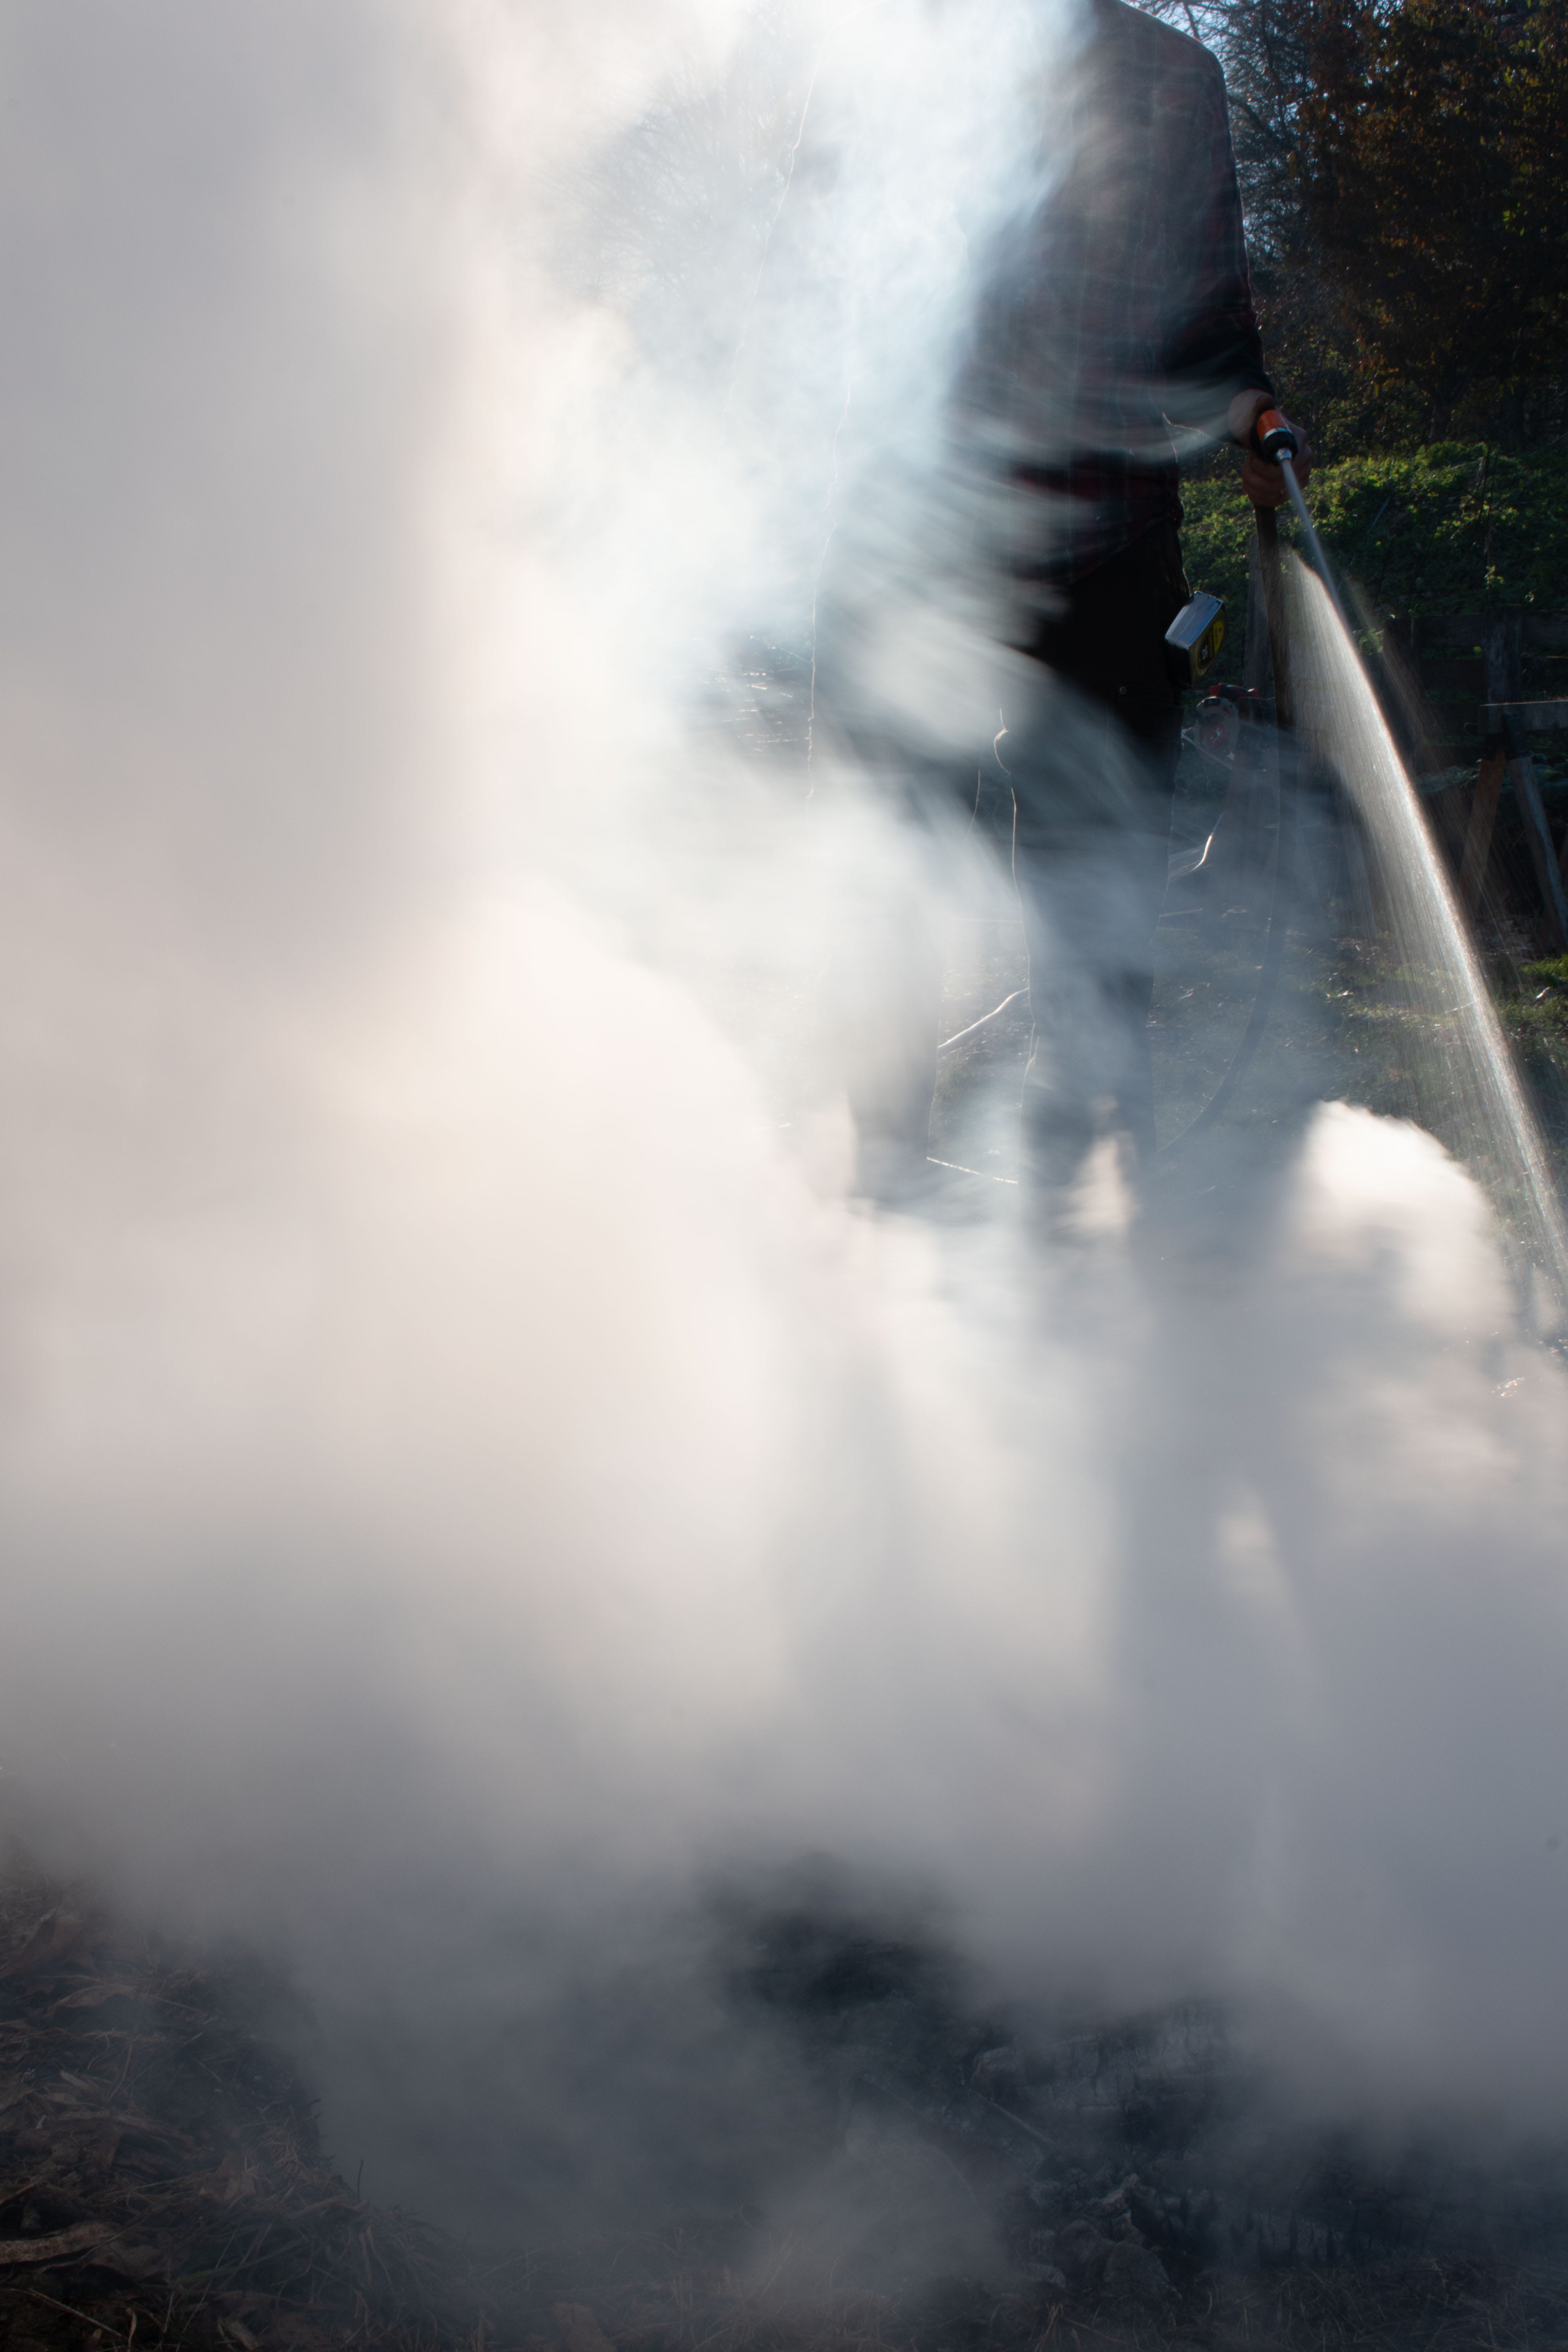
Charcoal is made by the incomplete combustion of any organic material--wood in our case. You want to stop the combustion while everything is still coal, before it all burns down to ash. The simplest way to do this, and what we did, is to dig a cone-shaped pit, start a fire at the bottom, and add consecutive layers of wood all at once. Each additional layer deprives the lower layers of oxygen, stopping the combustion. When the pit is full, the whole thing is doused thoroughly with a hose. This has the triple effect of extinguishing the fire, expanding the pores by steam, and rinsing tars and other contaminants out of the charcoal. Our pit, 4 feet across by 2 feet deep, made about 50 gallons of charcoal in a single burn. Our technique evolved, occasionally poking and prodding the pile to collapse it and fill all the gaps lower down to make the most of the volume.
Fancier setups involving kilns, retorts, or ovens can also make biochar, and any carbonaceous material can be burned: grass, brush, bone, etc. This means biochar production can scale up or down and is applicable for everyone from home gardeners, small-holding farmers, to large-scale farmers, and also that it can turn waste products from other processes, say brush from a logging operation or straw from a grain harvest, into a valuable resource.
Inoculating the charcoal is the very important second step. Charcoal is so adsorptive, that if it isn't properly charged, it will actually suck nutrients out of the soil, decreasing the soil quality in the short-run. The simplest way to charge biochar is to add it to your compost pile and let it steep there for a few months.
Since we have lots of worm castings from our vermicompost, and a tea-making bucket, we soaked our biochar in worm tea for 2-3 days, stirring it every now and then.
Application
Finished biochar should be applied at a 1-10% rate by volume, and is most effective when applied to the plant's root zone. So the 3 ways we will use it, in diminishing order of importance, are:
1. Mixing it into our seed-starting mix at a relatively high rate (~10%). In this case, we will crush the biochar so it mixes well and doesn't impede the seedlings' fine root growth.
2. Sprinkling it into the planting hole for new plants. This will work the biochar deeper into the soil when we are already digging, and get it right to the root zone.
3. Roto-tilling in large amounts of biochar when we create new beds. We are establishing new perennial beds, for berries and ornamentals, by roto-tilling lawn. We maintain a vaguely no-till philosophy, but for initial establishment, since our soils are so poor to begin with, we don't expect tilling to damage them much. It also allows us to work in large amounts of compost, mineral amendments, and biochar, which is especially important in perennial beds where we will never have another chance to work amendments deeply.
To calculate application rate, (assuming a topsoil depth of 6"):
10% means one 5-gallon bucket for every 13 square feet.
1% means one bucket for every 130 square feet.
30"-wide beds are easy:
A 10% rate is one gallon of biochar per bed-foot.
A 1% rate is one gallon per 10 bed-feet.
My beds are 15 feet long, so each gets three 5-gallon buckets at the max rate.
I aim to apply at the highest rate, but decrease based on the amount of biochar I have available. Seed-starting mix will get 10%. The big front lawn which is becoming an ornamental garden will get about 3% because I don’t have the 200 gallons of biochar needed to reach 10%.
There are lots of ways to improve soils quickly. Biochar is particularly intriguing for me because it uses the two things we have in abundance on our specific homestead: wood and worm compost.
And of course, the best part is that making it involves the timeless pleasure of standing around a fire, hypnotized by the flames, what Gaston Bachelard calls “the first object of reverie, the symbol of repose, the invitation to repose.”
Thanks JB. I'm trying this. This year!
For those of you who cannot or have no desire to make biochar, Judd comments that it's easy to buy online or at your local garden center, which is a good way to encourage the growth of the biochar industry.
I will add that it is quite expensive to buy. For example, a 1.5 cubic foot bag online is $50. I made 20 cubic feet, or around $700 worth, and it took me 8 hours (which mainly consisted of standing around a bonfire sipping cocoa), for an equivalent of $85/hr (that doesn't include time to cut and gather wood, which is not insignificant, though equally pleasurable).